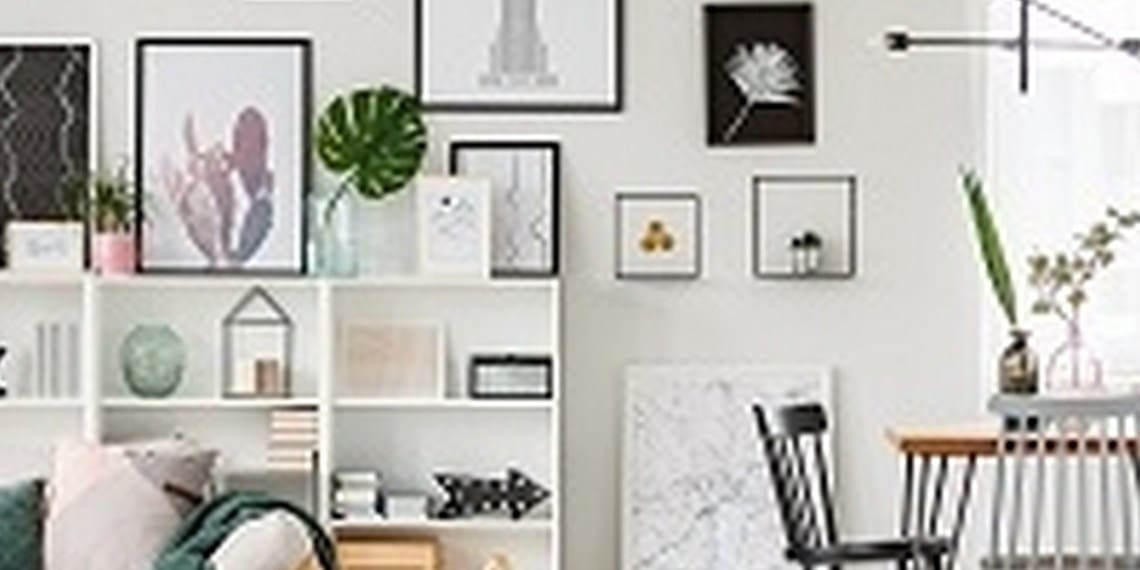
One of the biggest home design trends lately is creating a gallery wall to really make your room stand out.
This is a popular design element for all kinds of places in the home and can be done in the living room, hallway or really any room you choose.
There really are no restrictions to this either and you can go as big or as small as you like, and this also applies to what you choose to put in the frames. You could go for art prints or if you prefer you could choose family photos. Or why not go for a mix of the two? There really are no rules and its completely up to your taste – it is your home after all. But if you are unsure what a gallery wall is or how this looks, we have put together some simple steps to creating a gallery wall for you to follow.
What Do I Need?
In order to create your own gallery wall, there are some tools that you will need to hang the pictures. This depends on how you want to hang the pictures but we have put together a list of the things you will need in order to get your gallery wall up;
-
Spirit Level
-
Tape Measure
-
Pencil
-
Screws and Wall Plugs
-
Screwdriver
-
Adhesive Strips
Finding Your Prints
Now for the fun part, in order to put together a gallery wall, you will first need to know all the prints that you want to get hung up. Make sure that you have all of the prints that you want to include before you start measuring up and planning it out. A gallery wall can grow and expand in size so you can add to it at a later date of course, but you will need an idea of how many prints to include and if these are different sizes, where they will go. Once you have got all of your prints or photos together, then you can start to plan out how they will look.
Framing and Layout
When it comes to putting together a gallery wall, there is no set layout that you should follow and this can take up whatever style you desire. Usually, images are grouped close together in either a linear or cluster fashion. Gallery wall design usually incorporates images of different sizes too, but the layout is completely up to you. You will also need to frame the images too, and they don’t have to be all the same. An artist will generally frame their own work, so a gallery will include a wide variety of different style frames. You can include this too in your design or opt for the same style frames to make it more streamlined.
Plan It Out
The next step when it comes to creating a gallery wall is planning it out to make sure that you have the space and are happy with how it looks. A great way to do this in order to start visualising it is to lay all of your prints out on the floor in their frames so you can get an idea of how this will look. Using a measuring tape, measure the design you have laid out and work out if there is enough space on your wall. Once you are happy with the layout you can now begin to get your images up on the wall but first you should mark out where these need to go. Using a pencil, mark around the four corners of your image so that you have a good idea of where they are all going. Use a spirit level to ensure the pictures are straight. This will also allow you to make sure that you have enough space on your wall for the desired layout.
Fixing Your Images
The last step to creating the perfect gallery wall is to fix your images to the wall, and this can be done in a number of ways. You can fix frames to the wall using screws or removable adhesive strips. Screwing each frame to the wall can be a lot of effort and this means they will be fixed semi-permanently in the space. However, using removable adhesive strips can be a great way to hang images which doesn’t damage your walls. You can also get heavy-duty strips, such as 3M strips, that can support even the largest of pictures.
And you should be done. Creating a gallery wall is a completely unique and customisable process so there really is no right or wrong way to go about this. Following our steps should help you to design the perfect wall for your home.

FIND YOUR BISHOP'S MOVE


 Previous story